It’s officially berry season, which is why right now is the perfect time to make jam. Using fresh, seasonal ingredients equals a flavorful jam that you can eat right now or store for winter when berries are, well, not so fresh.
This activity is not only fun for the culinary adventurous, but also for the child in all of us that loves running through a field of berries and picking until our hands simply can’t anymore. Growing up in Kansas, I spent many summer days visiting berry-picking farms. And if you’re lucky enough to grow your own berries, then this activity is a no brainer.
The biggest concern about jamming is that it takes a long time or that you won’t have enough storage space to save all the jam you want to make. Luckily, you can actually very quickly make strawberry jam that is ready to go and doesn’t need to be processed or preserved. This recipe addresses both ready-to-go and canning methods.
You’ll Need: A thermometer to test the jam temperature as well as sterile glass preserving jars and lids for storing
Strawberry Jam
2 pounds fresh strawberries
4 cups white sugar
1/4 cup lemon juice
Crush strawberries until you have 4 cups of mashed berry.
Mix together the strawberries, sugar and lemon juice in a large sauce pot, stirring over low heat until the sugar is dissolved.
Bring the mixture to a rolling boil. Boil until the mixture reaches 220 degrees Fahrenheit.
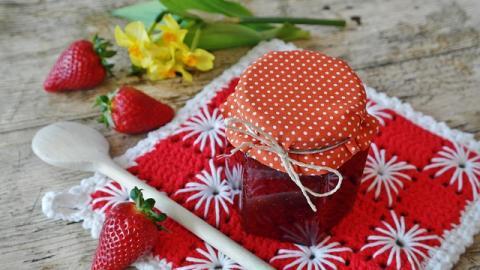
Transfer the jam to hot sterile jars. A dishwasher is a great way to clean and heat up the jars, but you can always clean and heat them by placing them in simmering water, not boiling, until needed for the jam. (Lids can be left at room temperature for easy handling.) When adding the jam to the jars, make sure to leave about 1/4- to 1/2-inch space at the top and seal. Refrigerate the jam and eat right away.
Water Bath Canning Instructions
If you’re planning on storing the jam, process the jar in a water bath. This is a shorter, lower-temperature canning process that can be used for high-acidity foods such as jams, salsas, tomatoes, condiments, pickles and vinegars. In addition to the glass preserving jars and lids, you will need a deep sauce pot with a lid.
Boil water in a deep sauce pot—enough so that the jars will have 1 to 2 inches of water above them when fully submersed. Keep at a simmer until placing the filled jars in the pot. Lower sealed jars into pot, and make sure the water covers the cans. (I recommend placing a rack at the bottom of the pot to place the jars on in order to avoid the possibility of breaking.)
Process jars in the boiling water for about five minutes. (Note: This time requirement can vary depending on altitude). After five minutes, remove the lid, and turn off the heat. Let the jars sit in the water for another five minutes until they start to acclimate to the outside temperature.
Remove jars from the water and place upright for 12 to 24 hours. After this, check to make sure the seal is airtight (not able to flex up or down when the center is pressed). Then, store in a cool, dark place.