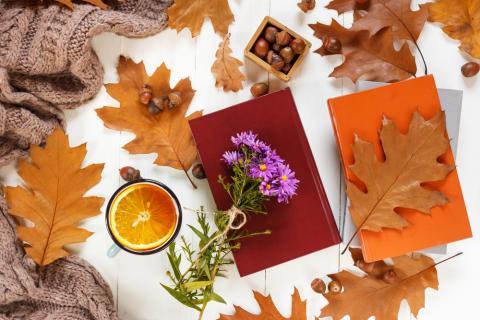
Autumn is a fantastic time for nature-based crafts. With all the natural materials falling from the trees, there is a plethora of creative opportunities. Fallen leaves especially lend themselves to crafting projects. Take a walk with your family, collecting the fallen leaves you find along the way, and then use them to try out the crafts described below.
Leaf Prints
You need leaves, paper, paint brushes, and your choice of paints. I suggest tempera for younger crafters.
Leaf prints are very simple! Brush a fine layer of paint along the back side of the leaf. The backsides of leaves will be typically less colorful and more textured with veins than the front side. Place the leaf with the painted side down onto the paper. Take another piece of scrap paper and place it on top of the leaf. With your palm, press down hard on the paper-and-leaf sandwich, making sure to press every part of the leaf. Lift the scrap paper and leaf off your finished product and see what kind of results you get. Experiment with more or less paint, mixing colors, and layering the leaves.
Leaf Illustration
You need a large collection of different types of leaves, scissors, paper, glue, and markers.
Leaves can be used to build different images. For instance, a round leaf could be used as a head, a spikey leaf could be hair, and round leaf cut outs could be eyes to make a face. Experiment with using different shaped leaves to build recognizable illustrations such as pumpkins, cows, chickens, and people. Use the leaves the same way you might use construction paper, and cut out different shapes you might want. A yellow leaf can be cut into a round shape for the sun. You can cut long lines out of an orange leaf to then make the sun’s rays, etc. You can even use these illustrations to tell a story.
Leaf Rubbing
My personal favorite craft is perhaps the simplest of all. You need a large collection of leaves, paper, and a set of crayons with the paper removed.
Place a leaf on the table with the back facing upwards. Once again, the back of the leaf is the less colorful, more textured side. Place a piece of paper over the leaf. With one hand, hold down the leaf so that it does not move underneath the paper. With the other hand, take the flat side of the crayon (as opposed to the pointed tip), push down, and drag it across the leaf. You will need to find the correct balance of pressure to get the desired effect. Too soft a drag will yield few results, while too hard a drag will cover up all the intricate patterns to be revealed by the leaf. The perfect leaf rubbing should yield darkness on the veins of the leaf and lightness on the body. You should be able to see the leaf pattern very clearly.
Once you have done a rubbing, you can cut it out and glue it on the face of a card, or simply collect a series of rubbings in a notebook. You can outline the leaf rubbing in a different color or decorate around it as desired.
Symmetry Sketches
You need a collection of leaves, paper, scissors, glue, and colored pencils.
Take a leaf and cut it in half down the middle. Save the other half. Glue this half of the leaf on a piece of paper. You can then experiment with the symmetry of the leaf in several ways. You can free draw a reflection of the leaf on the same piece of paper. You can also fold the paper in half along the center line edge of the cut leaf, tape it to a window, and trace the outline of the leaf from there. Compare your drawing of the other half of the leaf with the actual other half that you cut away at the beginning of the project.
Leaf Pressing
You need extra dry leaves, waxed paper, regular paper, and an iron.
Take a piece of waxed paper and fold it in half. Arrange the leaves you want to save in a design sandwiched between the two halves of the waxed paper. Take the waxed paper and sandwich it between two pieces of regular paper. Turn on your iron to the hottest setting but be sure to use absolutely no steam. Make sure the waxed paper is securely sandwiched between the two pieces of regular paper with no edges popping outside. Iron the papers slowly and gently up and down, being sure to reach every edge of the waxed paper inside. Iron the paper for one minute, then put the iron to the side. Carefully lift the still hot waxed paper away from the regular paper and place it on the counter to cool. Your leaves should be sealed between the waxed paper and ready to use as a bookmark, the cover of a card, an ornament, or a window hanging.
Autumn is an amazing time for so many activities. Whether you are raking leaves, going for a walk, exploring the woods, or roaming the school yard, I bet you can find some leaves hanging around. Leaf crafts are great for adults, but especially great for kiddos to learn more about the trees around them. Engaging yourself and your children in nature-based crafts builds eco-literacy and a sense of the connection with the natural world. So get out there, collect, build, and enjoy!


