Making use of the rainwater that falls freely from the sky provides an arsenal of benefits in and around the home. You can purchase a rainwater barrel and system or you can do-it-yourself. It is far less expensive to create it and set it up yourself than it is to buy a kit. It isn’t hard to do, either, as long as you have the right materials and tools. Come learn how you can save money and become one step closer to self-sustainability – I promise you’ll learn something useful.
Supplies List
30-50 Gallon Barrel
4-8 Concrete Blocks
Piece of Screen
1 – Standard 1-inch Hose Spigot W/ ¾-inch Thread
1- ¾ X ¾-inch Bushing
1 – ¾ X ¾-inch Coupling
1 – ¾-inch Lock Nut
4 Metal Washers
1 – ¾-inch Pipe Thread W/ 1-inch Hose Adapter
1 Tube Eco-Friendly Caulking (Waterproof)
1 Roll of Teflon Thread Tape
Bag of Pea Gravel – Enough to cover the surface ½-inch
1 S-Shaped Aluminum Downspout Elbow
For every additional barrel you are adding to the system you will need all of the above supplies except duplicate spigots.
Tools
Hacksaw
Pliers/Wrench
Tamper or something of the sort
Gloves
Level
Sandpaper
Drill
Now it’s time to get down to the nitty-gritty. So let’s start with creating a functioning rain barrel.
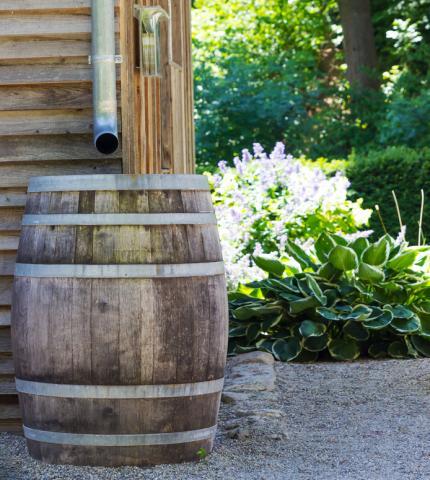
The Barrel
I always wash out my barrel and let it air dry before starting.
- First, drill a ¾- inch hole about 1 to 3-inches from the base of the barrel. This will be where the spigot is installed so you can easily access the water.
- You have to caulk a full circle around the inside and outside of the spigot hole and attach the spigot. This requires putting the spigot and coupling together and then using the threaded tape to wrap the threaded ends. This creates an airtight and waterproof seal. Your spigot will have a set of instructions you can follow for the rest of its installation. Just be sure to work from the outside to the inside.
- Now it’s time for the overflow valve to be added. The overflow valve will be at the top of your water barrel; this will allow any excess water to flow into the next barrel. Simply drill another ¾-inch hole and piece together your pipes and fittings.
- Set the barrel aside and give the caulking time to dry. This gives you the opportunity to work on making a level surface to build your barrel’s platform.
It is really important to build some sort of base for your barrel/barrels to sit on for a few different reasons. First, this will keep water from pooling up around the outside of the house or building and make it easier to access the spigot. Another good reason to have it raised up is to avoid the barrel from shifting and possibly tipping over. To get the ground ready for the platform you will have to dig a 5-inch deep rectangular shaped hole directly beneath the downspout. You will want the rectangle to come out on all sides about 3 to 5-inches to allow proper drainage. Next, fill the freshly dug hole with a ½ inch of pea gravel, which also allows proper drainage of the water. If you have concrete where your barrel will be going then you’re ready for the next step.
The Platform
Now that your ground is nice and level and the drainage set up you can get the platform ready. Keep in mind that you will want your platform to be wide enough and long enough to hold all of your barrels safely and securely.
Simply take your blocks and stack them sideways, directly on top of the pea gravel. This creates a basic platform. Some people like to use the blocks simply as support and place a thick board on top as the platform. This platform is simple and basic. If you want to use a more sophisticated model, there are several types of blueprints available.
The Down Spout
With the platform ready to go, position the barrel on top so it lines up with the downspout. Attach the elbow piece to the actual downspout and work down from there. Measure the distance from the downspout to the barrel – this way, you can tell how long your pipe will need to be and if it needs to be adjusted. Attach your flow pipe to the elbow and get your filter in place. If your barrel does not have a hole in the lid you will have to use a hacksaw to cut your own hole.
This water system is very basic. It can be set up against your house or a shed out in the yard. Depending on how much water your household uses you may want to have multiple systems set up throughout.
*Sustainable Tip* I use eco-friendly soaps so that I don’t harm the environment. This also allows me to reuse my water from various things for the garden or flowerbeds. You can use a bucket to catch your water while washing your hands and put the water to future use for various household or backyard projects.