Age, lifestyle, pollution – endemic factors can affect the skin negatively. To combat, try a DIY fruit peel whipped up in your kitchen…
Let’s begin with what exactly a peel is, when it comes to beauty talk. A peel is a beauty treatment meant to slough off the topmost layer of dead skin cells, thereby nudging the skin into making more skin cells – the end result being youthful, softer and smoother skin. Peels are done by using glycolic acid, an AHA (alpha hydroxy acid), which is a powerful exfoliant. Once applied to the skin, the glycolic acid literally dissolves the topmost, tired and dull-looking layer of the skin and gives you a brighter visage.
Salon-based peels are mostly done with a synthesized version of the glycolic acid, which is much stronger than the one found in nature. While the results are immediate and effective, there’s a price to be paid when it comes to salon treatments -- be it the pricey treatment or the aftereffects of using harsh chemicals on the skin.
A better alternative is to whip up a peel at home, using nothing more than your kitchen blender and ingredients growing in your backyard or commonly found on food store shelves. Peels are usually made of glycolic acid which is an AHA (alpha hydroxy acid), which occurs naturally in fruits.
A Homemade, Safe-To-Use Peel
To make the peel, you need:
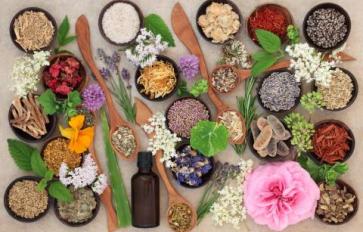
A good AHA mix: any two fruits rich in AHAs such as papaya, strawberries, apples, grapes, pineapples or mangoes
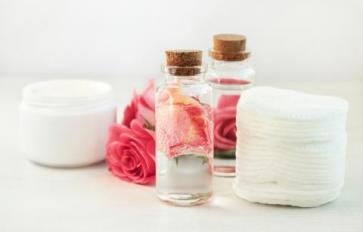
A lactic acid base: milk, yogurt or cream – depending on your skin’s moisturizing needs
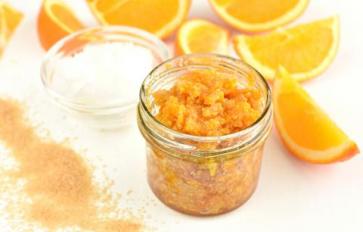
A dash of lemon for added AHA action
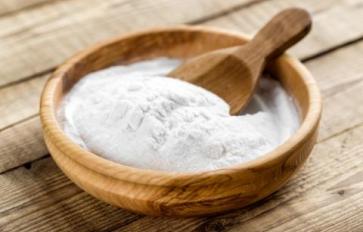
A pinch of turmeric powder (haldi) that works as an anti-microbial agent
A pinch of sandalwood powder (chandan) to lighten blemishes and target any sebum (skin oil) related problems such as blackheads, whiteheads and acne
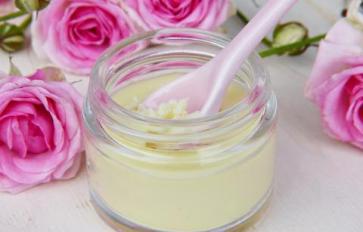
Puree everything in a blender, keeping ratios such that it turns into a nice gooey mix. Refrigerate for 30 minutes prior to using. This is also a good time to do a patch test on your skin to make sure that you are not allergic to any of the ingredients used in the peel. Even naturally occurring chemicals can cause rashes or worse. Apply the peel to the inside of your elbow, and wait for 10 minutes – mild irritation or redness is fine and expected – hives are not. Wash off immediately if you have a serious reaction and consult a doctor to ensure no such incident is repeated.
How To Use The Peel
The very first step to using a peel is to prime your skin to receive it. For this, ensure your skin is makeup free – use a good makeup remover to rid your skin of any and all traces of cosmetics. Then wash your face with a mild soap or facial foam and gently pat dry. You may choose (or not) to use an astringent or a softener at this point, though the jury is still out on its helpfulness. If choosing to do the peel on the whole body, take a nice warm shower and pat dry.
Make sure your skin is dry and free of any nicks or bruises. Now start applying the by-now cold peel onto your skin – the coolness will further freshen up your skin and tighten those pores, as well as banish any puffiness. Don’t massage it in – just an even application is enough. Wait for 15-20 minutes. This is a good time to just relax and meditate with the scent of the peel and the sound of your own breathing.
After 20 minutes, wash off – you may want to give your body a gentle scrub with a loofah at this point to give your skin the maximum benefit. Pat dry and as a final step moisturize your skin to combat any residual dryness.
So there you have it, salon-like results with natural and mild chemicals that give your skin some TLC and at a fraction of the cost. Do write in with your comments if you liked this peel and found it effective…
Love to you and your skin!