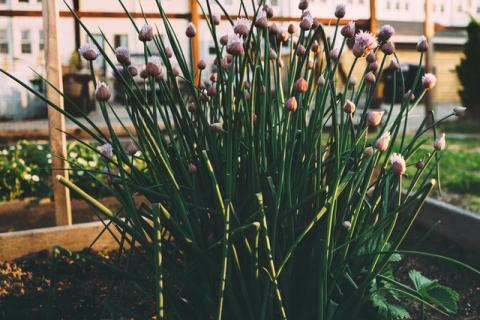
For all of us urban gardeners out there, we know how difficult it can be to find land to grow fresh produce. Dodging the shadows of high-rise buildings can become a serious skillset that too many of us have had to hone. That’s why creating a community garden is an ideal solution to your gardening woes that also helps strengthen ties to your neighbors.
While creating a community garden is no easy feat, here are 10 steps suggested by the American Community Gardening Association to get you on track:
- Organize a Meeting of Interested Community Members: Invite anyone—neighbors, tenants, community organizations, building owners and even local businesses—who might be interested in creating a community garden. The first topic of conversation needs to be whether or not a garden is really needed and wanted, followed by a conversation about what kind of garden is wanted. Vegetable, flower and organic gardens all require different gardening tools and techniques.
- Form a Planning Committee: From those interested parties, create a planning committee of individuals who seem the most passionate about the cause. Well-organized people can serve as garden coordinators who will help tackle everything from funding to partnerships to construction.
- Identify All Your Resources: Figure out what resources already exist in the community that can help with the creation of the garden. Is there a local gardening organization or landscaping expert that can help early on? Also, contact local city planners about possible sites that might work.
- Find a Sponsor: While some gardens are created based on membership dues, a sponsor can help with funding for supplies to build the garden. Churches, schools, local businesses or parks and recreation departments can all be potential sponsors. Organizing a fundraiser can also work, depending on how much funding you need.
- Choose a Site: First, find out who owns the land you’re eyeing to use to see if you can get a lease agreement for at least three years. (You don’t want to put in all that hard work to find that you’ll be kicked out of the space a year later.) Sunshine, availability of water and any possible contaminants are other huge factors in choosing the best site.
- Develop the Site: Organize volunteers to clean and design the site for gardening. Depending on the quality of the site’s soil, you may want to build raised beds.
- Assign Garden Plots: Assign plots to all members evenly, and don’t forget space for pathways as well as compost and tool storage.
- Plan for Children: You may want to consider a plot for just children, as their input and involvement in the gardening process is equally important in the community.
- Create a Set of Rules: While no one wants to be the gardening dictator, it is important to have a written list of best practices to make sure everyone is on the same page. Addressing important issues such as dues, the use of tools, regular maintenance and scheduled meeting times avoid any confusion down the road.
- Continue the Communication: Staying in touch keeps the idea of community alive. Hold monthly meetings or send out a monthly email where people can share ideas about how to better the garden. Even hosting a celebration once in awhile can really inspire the community.
