Did you know the average woman eats 7 pounds of lipstick in her lifetime? To make sure you're not eating chemicals, try these crafty recipes for all natural lipstick and lip gloss. The best part is, they'll certainly save you a buck or two in the long run. Lipstick and lip gloss not your thing? You can always give these away if you'd rather not use them. Either that or learn to craft eye makeup instead! Either way, you're bound to look (and feel) fabulous.
Lipstick
I truly believe lipstick can make or break your look: That's why it's so important to make sure you have the right shade. By crafting your own lipstick, you have all the power, and none of the chemicals. This recipe is also perfect for beginners who are new to crafting natural DIY products. I've made sure to include links to any ingredients you might have trouble finding (or never heard of before), but most of these products can be found online with a simple google search.
Base ingredients
- 1 teaspoon shea butter (or cocoa butter)
- 1 teaspoon coconut oil (or avocado/sunflower oil)
- 1 teaspoon of beeswax pastilles (these can be found in a co-op, craft store, or here)
- A container (here's a lip balm container I like to use – each container is only $0.30!)
Colorants
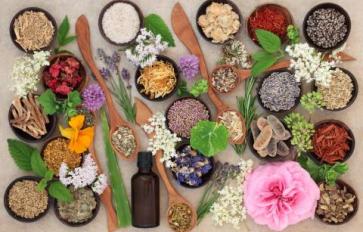
- Beetroot powder (pink)
- Hibiscus powder (pink to red – has a darker hue than beetroot)
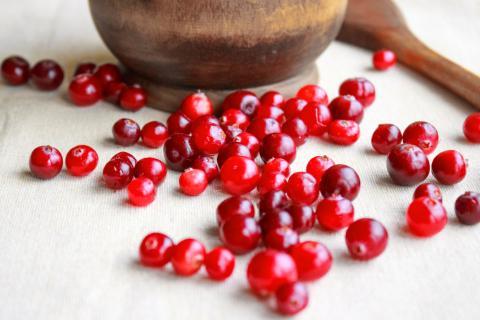
- Cranberry powder (red – has a bright color perfect for bolder lipstick shades)
- Cinnamon (brown – add a pinch of turmeric to turn it into more of a tan color)
- Cocoa powder (dark brown )
Tip: If you want a more matte lipstick, add ¼ teaspoon of bentonite clay to your mixture. Also, feel free to add a drop of your favorite essential oil to scent your lipstick.
Note: Add as much of these colorants as you feel you need, but be forewarned – red hues should be used sparingly, as they tend to have a stronger pigment. I recommend using 1/8 teaspoon for red hues (like beet root, hibiscus, and cranberry powder), and ¼ teaspoon for the brown hues. You can get all these colorants at a decent price on Mountain Rose Herbs).
Directions:
- Put the wax, coconut oil, and shea butter in a glass jar without a lid. Place it in the center of a pot and fill the pot with some water. Get the water simmering (not boiling), and the ingredients should melt fairly quickly. Do not try to warm these ingredients up directly on a pan – beeswax is extremely flammable.
- Remove the jar from heat once the ingredients have melted and add your chosen colorants (you may also add any scent or bentonite clay at this point, if you choose).
- Feel free to get creative and combine a mixture of colors to create the shade you desire. Mix the colorants together with the base ingredients well.
- Once you're satisfied with your shade, use a dropper to transition the colored liquid into your chosen container. Be sure to leave some extra room at the top of the container, as it will expand when it cools. Leave it to cool for about 30 minutes and then it should be ready for use! To make sure your new lipstick stays firm, store it in a cool place at all times, or else it might soften.
________________________________________________________
Lip Gloss
For those who crave more subtle colors, lip gloss is the way to go. Personally, I apply lip gloss on a daily basis, so this recipe makes my life a little easier when I'm strapped for cash. The best part is if you buy all these ingredients in bulk, you'll have enough to supply your lip gloss (and lipstick) creations for months to come!
Ingredients
- 1 tablespoon shea butter (or cocoa butter)
- 2 tablespoons coconut oil (or avocado/sunflower oil)
- 1 tablespoon beeswax pastilles
- 1 teaspoon of vitamin E oil (get it here)
- Natural colorants (the ones I listed for lipstick will do)
- A container (preferably a tin – like these)
Directions
- Similar to making lipstick, place the wax in a glass jar and put the jar in the middle of a pot. Fill the pot with some water and let it simmer and melt the wax. Make sure the water doesn't boil. Again, do not try to warm these ingredients up directly on a pan – beeswax is extremely flammable.
- Once the wax is completely melted, add the shea butter, vitamin E, and coconut oil to the glass jar. Stir the mixture together until nice and smooth.
- Once the mixture is smooth enough, remove from heat. Now add your chosen colorants to the mix. Similar to making lipstick, be sure to experiment and aim for creating a shade you'll like. You may also add in your favorite essential oils to create a lovely smell (some ideas are rose, peppermint, or vanilla). If using essential oils, make sure they are safe for your skin, and mind the dosage!
- Once you have your desired shade (and scent – which is optional), pour the mixture into your chosen container. Let the lip gloss set for about 2 hours, or overnight. By then it should be ready for use: Just apply using your fingers and you're set!
Disclaimer: There is no financial affiliation with the products/brands linked in this article.

